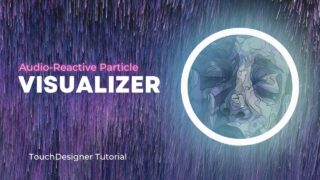
Audio-Reactive Visuals in TouchDesigner
In this tutorial, we explore how to drive your visuals in TouchDesigner that normally use time with audio analysis/beat detection.
Link to Double Feedback component: https://drive.google.com/file/d/1KQmPUCxcdaIM-qVxQZHkBcDEpFGfJM19/view?usp=sharing
Markus Heckmann’s tutorial on feedback techniques: https://www.youtube.com/watch?v=r-XwzEzYhUU
If you’re interested in other techniques on making things audio-reactive, Bileam has a great tutorial on this: https://www.youtube.com/watch?v=rGoCbVmGtPE
0:00 Overview
0:22 Audio Analysis
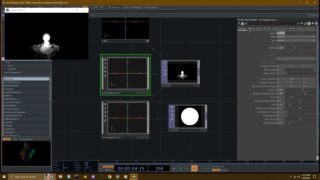
4:53 Creating a Component
6:43 Setting Up Noise TOPs
9:22 Driving Animations with Audio
11:10 Blending Between TOPs with Audio
12:14 Fixing up our Audio Analysis
13:24 Animating Color with Audio
15:22 How to use Displace TOP
16:52 Bonus Water Color Effect Overview
17:53 Water Color Setup
21:03 Transition Between Water Color & Original Visuals
One recommendation I have in hindsight is instead of copying the expression in the transform of the Noise TOPs around is to place that expression into a Constant CHOP, attach a Null to the constant and pass a reference from that Null in your components. This will let you modify that expression in 1 place instead of having to go into each component and modify it.
Music by 20syl
Track: One or Won