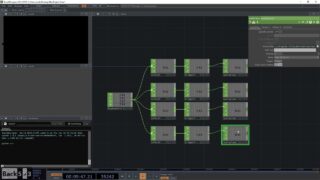
TouchDesigner Spirograph using CHOPs – Another TouchDesigner Tutorial
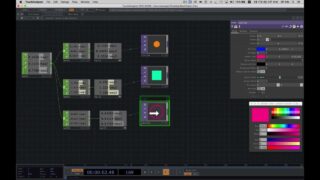
At the request of another YouTuber, we’ll look at recreating the Spirograph functionality found in the first video of this Spirograph series (https://youtu.be/2TFjKU5YgAU) using only CHOPs (and no Python code!). This will allow for you to experiment with adding further CHOPs to the network to modify the mathematical function that generates the drawing and hopefully arrive at some unexpected results.
The video assumes that you’ve created the network found in the first video: https://youtu.be/2TFjKU5YgAU.
You may want to make a few adjustments to the CHOP network in the video, like adding a Math CHOP after each one of the Slider COMPs to have a way of adjusting the range of values that those sliders output. The speed slider is one case where this would be very useful (allowing you to draw at a faster rate).
Tag your images/videos with the hashtag #tdspirograph if you give this technique a shot, so that we can all see the results. I’m excited to see what you make with this technique!
——————
00:00 Intro
02:10 Overview of Changes
03:35 Setting up Constants
06:02 X Position, 1/2
12:18 X Position, 2/2
17:10 Finishing up X Position
18:27 Calculating Y Position
19:52 Merging X and Y Positions
20:40 Network Complete!
22:46 Closing Comments, Outro
——————
If you have any questions as you implement this technique, feel free to reach out.
——————
This is the sixth video in a series called Another TouchDesigner Tutorial. More to come!
IG: @jackdilaura
https://www.instagram.com/jackdilaura/
About The Author
You might be interested in