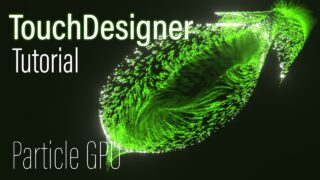
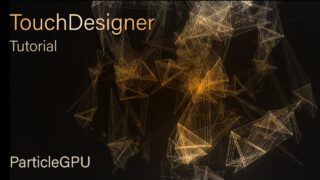
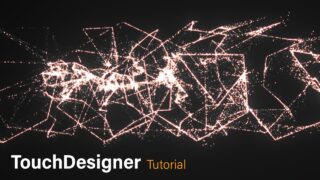
TouchDesigner Tutorial: Video to ParticlesGPU – Turn Any Video into Organic Particles
This TouchDesigner tutorial teaches you to create an alien planet or sand dune texture Project Files Here 👉https://okamirufu.link/project_files_collections
*Summary*
In this TouchDesigner tutorial, you’ll learn to transform video into particles using ParticlesGPU. We’ll map RGB to XYZ, add feedback and blur for dynamic motion, and customize particles with materials. A complete system for real-time visuals
💎 FREE:
– Free VJ Pack Collections: https://okamirufu.link/free_vj_pack_y
– Over 150 Videos: https://okamirufu.link/free_vj_pack_y
🛒 SHOP
– Conceptual VJ Packs: https://okamirufu.link/patreon_shop
– Plugins: https://okamirufu.link/patreon_shop
– Custom Components: https://okamirufu.link/patreon_shop
🔗 LINKS & TOOLS
– AI Voice: https://okamirufu.link/eleven_labs
👋 CONNECT WITH ME
– YouTube: https://okamirufu.link/youtube
– Patreon: https://okamirufu.link/patreon
– Instagram: https://okamirufu.link/instagram
– TikTok: https://okamirufu.link/tiktok
– Pinterest: https://okamirufu.link/pinterest
♫ MY MUSIC
– Listen here: https://okamirufu.link/my_music
————————————————-
🕒 TIMECODE
00:00 *Intro*
Introduction to the concept: using any video as a particle emitter to generate
particles along video edges, creating dynamic effects based on motion and contrast.
00:17 *How to Follow This Tutorial*
Explanation of how to follow along using static screenshots of the network
and clear parameter images, so you can work at your own pace without pausing constantly.
00:54 *Chapter 1: RGB to XYZ — The Core Concept*
Deep dive into how TouchDesigner converts RGB color channels into XYZ
spatial coordinates.Explanation of using two Ramp operators (horizontal and vertical)
for X and Y axes, and using video for the Z-axis via Reorder. Demonstration of
how this creates a 3D point cloud to drive the particle system.
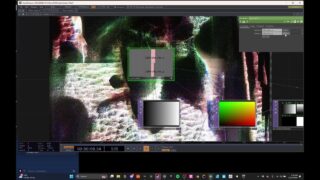
03:36 *Chapter 2: Network Overview & Setup*
Step-by-step explanation of the network structure. Setting up the RGB Key to
remove black background, adjusting Red Min, and Level TOP for controlling blue
intensity (depth/Z-axis). Organizing and assigning channels inside Reorder to
create a coordinate system. Using Select TOP to maintain video colors for particles.
First network screenshot explanation and how to copy the setup.
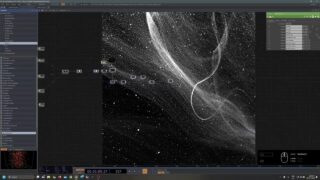
04:17 *Chapter 3: ParticlesGPU Setup & Custom Material*
Assigning Reorder output as source for ParticlesGPU. Setting and tweaking key
particle system parameters. Connecting a Circle TOP as a custom particle texture
and adjusting softness.Referencing Keyboard In to reset particles and link with Feedback.
06:40 *Feedback, Blur & Final Compositing*
Building the Feedback loop to create motion trails. Setting Blur parameters
(Pre Shrink, Filter Size) and Level opacity to control feedback amount. Composite
settings (Over mode) and using Select to bring original video colors. Final Composite
blend modes (Brightest) and explanation of connecting everything to output.
08:03 *Final Tips & Common Issues*
Troubleshooting particle visibility — adjusting camera position to see particles
properly in 3D space. Encouragement to experiment with different videos and
particle settings for unique results.
—
I hope you liked this tutorial! If you have any questions, feel free to ask in the comments below.
Subscribe to stay updated on future tutorials
Stay Strong & Make Art
With Love Okamirufu
#touchdesigner #creativeposter #posterdesign #realtime #generativeart
![[20] Ente de luz – TouchDesigner Tutorial](https://alltd.org/wp-content/uploads/2025/02/20-ente-de-luz-touchdesigner-tut-100x75.jpg)
![[20] Ente de luz – TouchDesigner Tutorial](https://alltd.org/wp-content/uploads/2025/02/20-ente-de-luz-touchdesigner-tut-320x180.jpg)