Chromatic Aberration and Post Processing Tool | Touchdesigner Tutorial
In this tutorial I am showing how to build a convinient component to add some post processing to your Touchdesinger visuals.
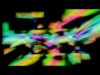
We are going to see how to create a chromatic aberration effect including other “lens imperfections” effects.
If you like my videos and want to support this channel you can find my personal version of this tool available on my “Buy me a coffee” at this link: https://buymeacoffee.com/g3n0m4/e/414274 .
This will include all the extra features and settings ready for you to use!
Links:
Buy Me a Coffee: https://buymeacoffee.com/g3n0m4/extras
Instagram: https://www.instagram.com/g3n0m4/
Time stamps:
00:00 – Intro
00:50 – Buy me a coffee
01:35 – Tool overview
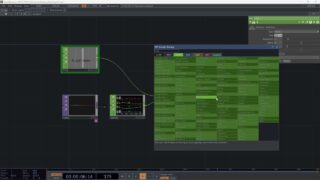
04:50 – Quick network overview
06:05 – Creating the tool from scratch
06:45 – Add a background to transparent images
09:00 – Add chromatic aberration effect
14:30 – Add the blur effect
18:40 – Blur falloff
20:35 – Add the noise grain
25:20 – Color/Monochromatic noise toggle
25:50 – Animate the noise
28:20 – Summary and demo
29:00 – Final words
29:45 – Outro
#touchdesignercommunity #touchdesigner #touchdesignertutorial #tuorial